It has been the case since the early 1500s, natural materials have been used to seal small gaps in ships, homes and other wooden or mud structures. These materials have mainly been wood and mud, the same materials used to build most of the world’s objects, be it moving or fixed, back then.
Nowadays, such materials are known as gap fillers and come in a variety of polymer-based materials and different resins. These fillers offer a different set of features that make them suitable for a wider range of applications and can be set between two different materials. Be it a damaged blank wall, a newly installed window or a crack in a temporary structure, the versatility of gap filler is what makes for such easy application in different scenarios.
Types of Gap Filler
Flexible
Most fillers are flexible, so it’s easier to apply them in tricky areas where there’s not a lot of space. The substance can both contract and expand according to the surface and the size of the gap you’re applying it to. Flexible and long-lasting gap fillers can be used both for indoor and outdoor applications, such as skirting boards and wall joins.
Rigid
As you’d expect, rigid fillers are made with no movement in mind. Meaning, they are used on surfaces that are hard and dry, and that won’t experience any movement. You can still smooth out a rigid filler, which makes it a good option when it comes to filling up cracks on ceilings and walls. But other than that, their use is not as widespread as that of their more malleable counterparts.
Foam
Another easy-to-use filler is one that comes in the form of a foam. When you need to fill up large openings where your fist can fit, you have no other option but to use foam fillers. That’s because they not only fill up the gap or hole quickly, but they also do so with much better sealing properties than flexible or rigid fillers.
Waterproof
As their name suggests, waterproof fillers are those that repel water and keep it away from whatever it is you’re trying to protect from. You can also form them as easily as you can flexible fillers and their high adhesion means they also protect from mould. Waterproof fillers can be used in other instances, but know that they won’t be as useful as they are in the kitchen or bathroom.
Factors to Consider
Indoors vs Outdoors
Where you need to apply gap filler determines the type of filler you need in order to make a long-lasting seal. If it’s outdoors, exposed to the elements, you need a cementitious filler that can stay put in the presence of moisture. If it’s indoor use we’re talking about, then you should consider getting pH-neutral fillers, which have a high gypsum content. While these fillers aren’t made to take on moisture, they sure make it easy to repair damaged walls.
Powder vs Ready-Mixed
There are two options when it comes to the preparation process that a filler requires. Powder fillers may need you to mix them with water before applying them, however, you get to decide the thickness of the end product. Ready-mixed or made filler can be used straight from the packaging, making it a lot easier and quicker to finish a repair. However, you don’t get to choose how thick the paste is.
Fine Surface vs Multi-Purpose
When you need to cover up the tiniest imperfections, such as scratches and cracks that a piece of hair won’t go through, fine surface fillers are the way to go. With a multi-purpose filler, on the other hand, you can fill almost any type of gap, no matter its size or shape. But it doesn’t offer as good a coverage in larger openings.
How to Use Gap Filler
What You Need
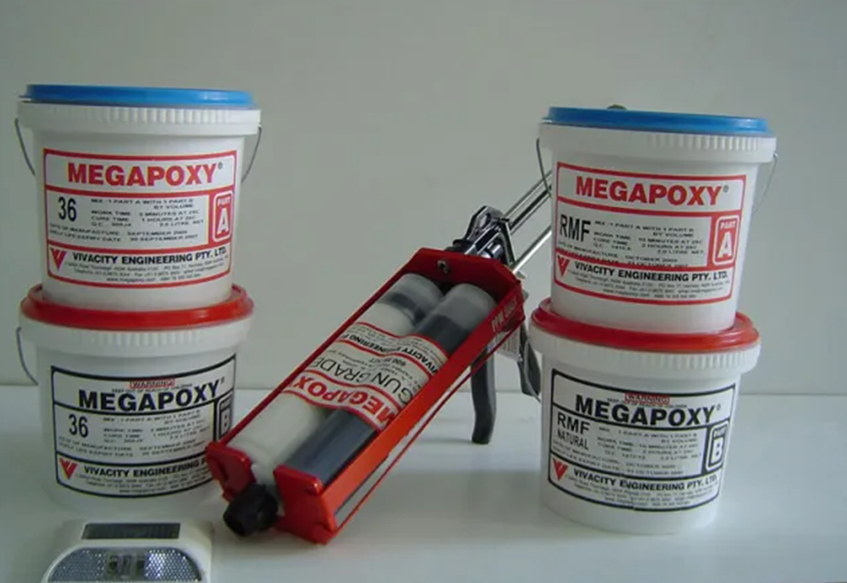
For the application process, you’ll need a flat surface, be it an old table or a board, a caulk gun or spatula, scraper, utility knife, filling knives, clean pieces of cloth and a damp cloth too.
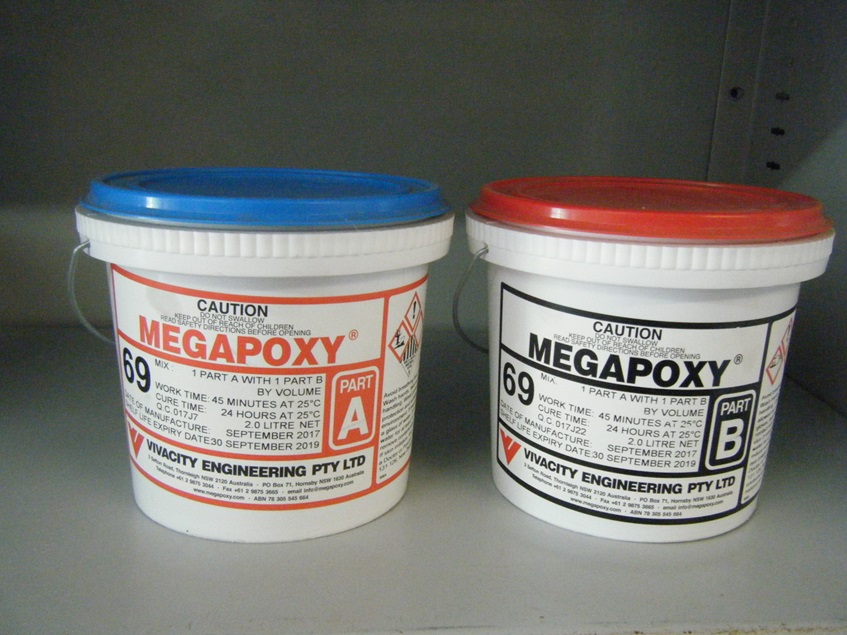
Mixing
Before you apply the filler, you need to mix it, unless you get a ready-mixed one. The former is done by combining the correct parts of water and filler powder according to the instructions on the packaging. This way, you get the correct thickness without any issues.
Applying
1. To apply gap filler, you should first assess the crack and if it’s a fine one, you should widen it by cutting a V-shaped notch, between 3 mm and 6 mm wide, using a utility knife.
2. Once the gap is large enough, you can then continue by removing excess material with a scraper to make the end product look better and last longer.
3. When the gap is clean, get some filler on your filing knife or get your caulking gun and load the filler onto it. Then either scrappy or apply the into the gap at 90° angles. The filler should be fully packed into the gap and a bit overflowing.
4. With the filler applied, leave it to dry completely before you sand down the surface. When sanding the surface, use fine-grain sandpaper and clean the dust off the surface once you’re done so that the paint can stick to it better.