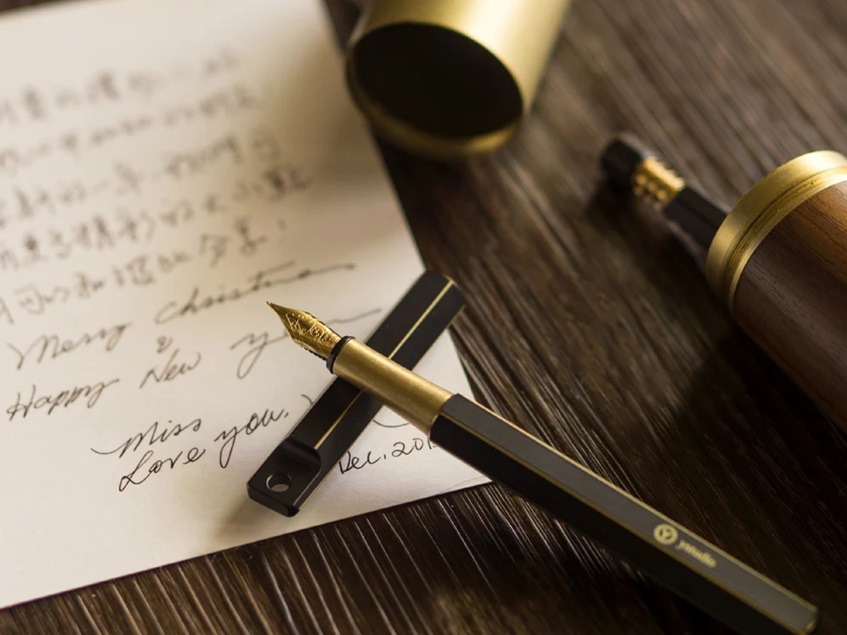
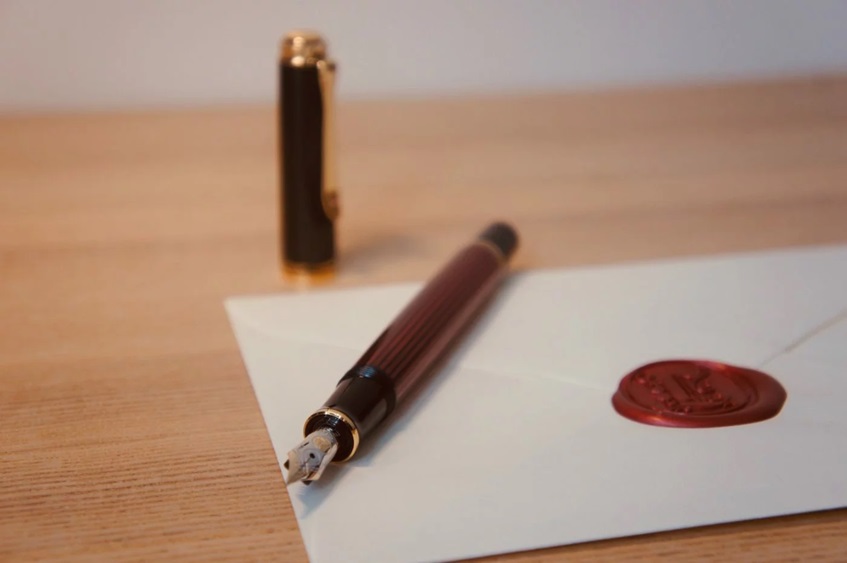
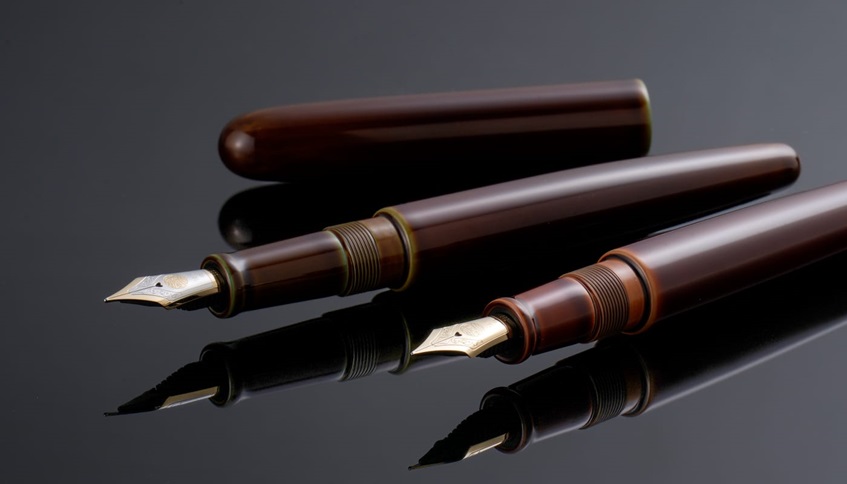
Calligraphy is a beautiful and timeless art form that can transform even the simplest of notes into elegant works of art. Whether you’re looking to create stunning invitations, or personalised gifts, or just enjoy the process of writing with style, calligraphy is an incredibly rewarding skill that anyone can learn. With the right tools, of course!
One of the best tools for the job? The fountain pen. But can you really do calligraphy with it? Absolutely! In fact, fountain pens are perfect for achieving smooth, flowing strokes with the right amount of pressure, allowing you to master the art of calligraphy with ease.
An Overview of Calligraphy

At its core, calligraphy is the art of beautiful writing. It’s a practice that dates back centuries, and although many people think of it as something reserved for professional artists, it’s actually a skill that anyone can learn with practice. Fountain pens are ideal for beginners because they offer a smooth writing experience, allowing the pen to glide across the paper without the frustration of skipping or smudging, which is common with regular ballpoint pens. The key to learning calligraphy is understanding the basics of stroke-making and practising consistently.
There are several calligraphy styles, that incorporate a bit of flair and creativity. No matter which style you choose, a fountain pen can help bring your writing to life. The nibs of fountain pens can vary in size and shape, offering different line widths, which is essential for achieving the contrast in strokes that make calligraphy so stunning. If you’re looking for a pigmented fountain pen in Australia you’ll find a wide selection of options for every writing style and budget.
Tools You Need to Get Started
Now that you understand the fundamentals of calligraphy, let’s talk about the tools you’ll need. The good news? You don’t need much to get started! Here are the essentials:
1.Fountain Pen
Choosing the right fountain pen is key to making the learning process smoother. A quality fountain pen will allow for better control of your ink flow, giving you more freedom to experiment with calligraphy. For beginners, pens with a medium or broad nib are great choices, as they provide a good balance between smoothness and versatility.
2.Ink Choices
Not all inks are created equal when it comes to calligraphy. The ink you choose can have a big impact on your results. For smooth, consistent flow, opt for fountain pen ink that’s specifically designed for calligraphy. Avoid using thick, non-fountain pen ink as it can clog up your nib. Dye-based inks are a popular choice, as they flow easily and come in a range of colours. If you’re feeling adventurous, try a shimmering ink for added flair to your calligraphy.
3.Paper Selection
Choosing the right paper is just as important as choosing the right pen. Look for smooth, bleed-resistant paper that will allow your pen to glide effortlessly across the page. Fountain pen-friendly paper like Rhodia or Tomoe River is a good choice, as it has a smooth finish and is designed to handle the ink without bleeding through. You can also experiment with different weights and textures to see what works best for your calligraphy style.
Learning the Basics of Calligraphy
Now that you’ve got your tools, it’s time to start writing! But before you dive into writing full sentences, it’s important to practice the basic techniques.
Holding the Pen
A proper grip is essential for consistent calligraphy. Hold your pen at a 45-degree angle to the paper, ensuring that the nib is aligned with the direction you’re writing. The pen should feel comfortable in your hand, don’t grip it too tightly, as this can affect your flow.
Basic Strokes and Techniques
Before you can tackle full letters, it’s a good idea to practice basic strokes. Start by drawing straight lines, curves, and loops, these are the building blocks of all calligraphy letters. Practice upstrokes (light strokes) and downstrokes (heavier strokes) to get a feel for how the ink flows and how to control the pressure on your fountain pen.
Writing Letters and Words
Once you’ve mastered the basic strokes, it’s time to practice individual letters. Start with basic calligraphy alphabets like the Copperplate script and focus on getting each letter consistent in size, shape, and spacing. Don’t rush—calligraphy takes time, and practice is key. Once you feel comfortable, start connecting letters to form words, paying attention to the flow and balance of each letter.
Common Mistakes and How to Avoid Them

Learning calligraphy isn’t always smooth sailing, but don’t get discouraged! Here are some common mistakes beginners make and how to avoid them:
- Uneven Strokes: One of the most common mistakes is uneven strokes, where your upstrokes and downstrokes don’t have the correct contrast. To avoid this, practice controlling the pressure on your fountain pen nib and pay attention to how much pressure you apply for each stroke. This contrast is key to achieving that classic calligraphy look.
- Ink Blotting or Smudging: If you’re prone to smudging, especially with left-handed writing, try to slow down and allow the ink to dry before touching the paper. Also, use quick-drying inks to reduce the chance of smearing.
- Overcomplicating It: It’s tempting to dive straight into complex designs, but don’t rush it! Focus on mastering the basics first, and as you gain confidence, you can experiment with more intricate lettering and flourishes.
Conclusion
Fountain pen calligraphy is a fun and rewarding hobby that anyone can pick up with the right tools and a bit of patience. Whether you’re a beginner looking to explore this beautiful art form or someone hoping to improve your writing skills. Practice makes perfect, so take your time, enjoy the process, and before you know it, you’ll be creating beautiful, elegant calligraphy with ease.


