Spray painting is one of the quickest ways to breathe new life into old furniture, spruce up a DIY project, or touch up an existing paint job. But before you shake that can and start spraying, there’s one essential step that often gets overlooked: applying a primer. Spray paint primer is the unsung hero of the painting process, ensuring your hard work pays off with a smooth, durable, and professional finish. Let’s dive into why this step matters and how it can make all the difference in your projects.
What is Spray Paint Primer?

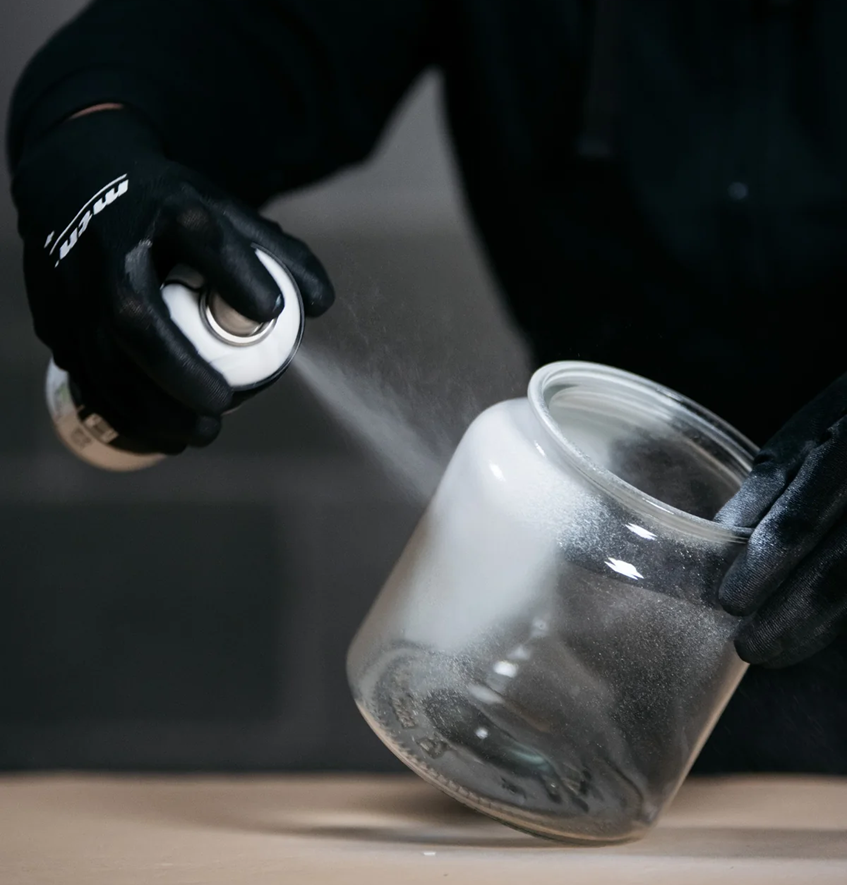
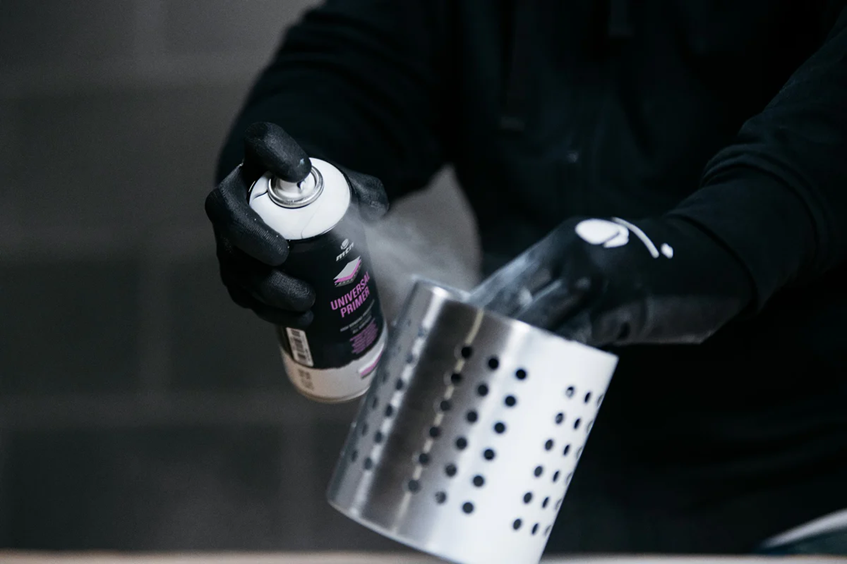
Spray paint primer is a preparatory coating designed to create an ideal surface for paint to adhere to. Think of it as the middleman between your bare surface and the final coat of paint. Primers come in various formulations tailored to different materials like wood, metal, plastic, and even glass. They’re available in spray cans for convenience, making them a popular choice for DIY enthusiasts and professionals alike.
Why is Primer Important?
Skipping the primer might save time initially, but it can lead to issues later on. Paint can peel, chip, or wear unevenly if it doesn’t bond well with the surface. Here’s why primer is a step worth taking:
1.Improves Paint Adhesion
A primer essentially grips the surface, giving your spray paint something to stick to. Without it, the paint might slide off or fail to bond properly, especially on slick or non-porous surfaces like metal or plastic.
2.Enhances Durability
Projects are meant to last, right? Using a primer ensures the paint holds up over time, even in areas exposed to moisture, UV rays, or general wear and tear.
3.Smooths Imperfections
Primers can fill in minor scratches, dents, or uneven textures, creating a smooth foundation. This is especially handy when working with rough wood or corroded metal.
4.Boosts Colour Accuracy
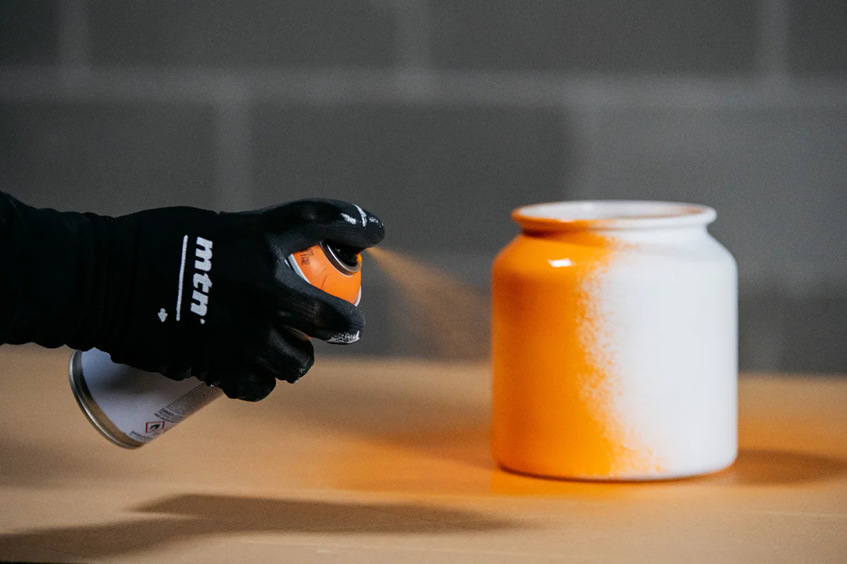
The primer’s neutral base helps the topcoat achieve its true colour. This is particularly crucial when using vibrant or light colours that might otherwise look dull over darker materials.
When Should You Use Spray Paint Primer?
Knowing when to use primer depends on the surface and the type of paint you’re working with. Here are a few scenarios where it’s essential:
- Painting Bare Wood: Wood is porous and absorbs paint unevenly. Primer seals the surface, preventing blotchy results.
- Coating Metal: Metals like aluminium and steel are prone to rust and corrosion. A primer not only promotes adhesion but also protects the surface from moisture damage.
- Transforming Plastic: Plastic can be tricky to paint due to its smooth and often flexible nature. A plastic-specific primer ensures the paint bonds without peeling.
- Covering Dark Colours: If you’re painting over a dark surface with a lighter shade, a primer helps mask the underlying colour, reducing the need for multiple coats of paint.
Types of Spray Paint Primers
Not all primers are created equal, and choosing the right one can make or break your project. Here are the common types and their best uses:
- All-Purpose Primers: Versatile and suitable for a range of surfaces like wood, metal, and masonry. Perfect for general use.
- Rust-Preventative Primers: Designed for metal surfaces, these primers prevent rust and ensure long-lasting protection.
- Stain-Blocking Primers: Ideal for wood or previously painted surfaces that have stains or discolouration. These primers prevent bleed-through.
- Plastic Primers: Specially formulated to bond with plastic, making them essential for toys, furniture, or plastic car parts.
- High-Build Primers: These create a thicker layer, great for filling minor imperfections and sanding down for a smooth finish.
Tips for Using Spray Paint Primer
Applying primer isn’t rocket science, but there are a few tips that can help you get it right:
1.Clean the Surface
Dirt, grease, and old paint residues can prevent the primer from adhering properly. Use a cleaner suited to the material, and make sure the surface is dry before you start.
2.Sand It Down
For a flawless finish, sand the surface lightly. This helps the primer grip better and evens out any bumps or rough textures.
3.Shake the Can Well
Spray cans need thorough shaking to mix the contents evenly. Aim for at least a minute of vigorous shaking before each use.
4.Apply in Thin Layers
Thick coats can drip or result in an uneven texture. Keep the can 20-30cm away from the surface and apply light, even strokes. Multiple thin layers work better than a single heavy one.
5.Allow Adequate Drying Time
Patience is key. Let the primer dry completely before moving on to the topcoat. Drying times can vary, so check the manufacturer’s recommendations.
Common Mistakes to Avoid
Even experienced DIYers can trip up on a few details. Here’s what to watch out for:
- Skipping Primer on Difficult Surfaces: Glossy, smooth, or porous surfaces need primer more than most.
- Over-Applying Primer: Too much can cause drips and a rough texture. Stick to light coats.
- Not Considering Compatibility: Ensure your primer and spray paint are compatible. Using oil-based primer with water-based paint, for instance, can lead to peeling.
Primer in Action: Real-Life Applications
From refreshing old patio furniture to creating custom car parts, spray paint primer has a role in countless projects. Picture this: you’re refurbishing a metal outdoor bench that’s seen better days. A rust-preventative primer not only keeps corrosion at bay but also ensures the paint stays vibrant through rain and sun. Or maybe you’re upcycling a plastic garden pot. Without a plastic primer, the paint might crack and peel with the slightest movement. These little steps make a world of difference in the longevity and appearance of your work.
Final Thoughts

Spray paint primer might seem like an extra step, but it’s one that pays off in spades. Whether you’re tackling a small DIY task or a larger restoration project, taking the time to prime ensures your results are durable, smooth, and professional-looking. With the right primer in your toolkit, you can paint confidently, knowing your efforts will stand the test of time. So, the next time you reach for that spray paint can, don’t forget the primer—your projects deserve it!


